Easy Centerpiece For Your Thanksgiving Table – Step-by-Step Guide
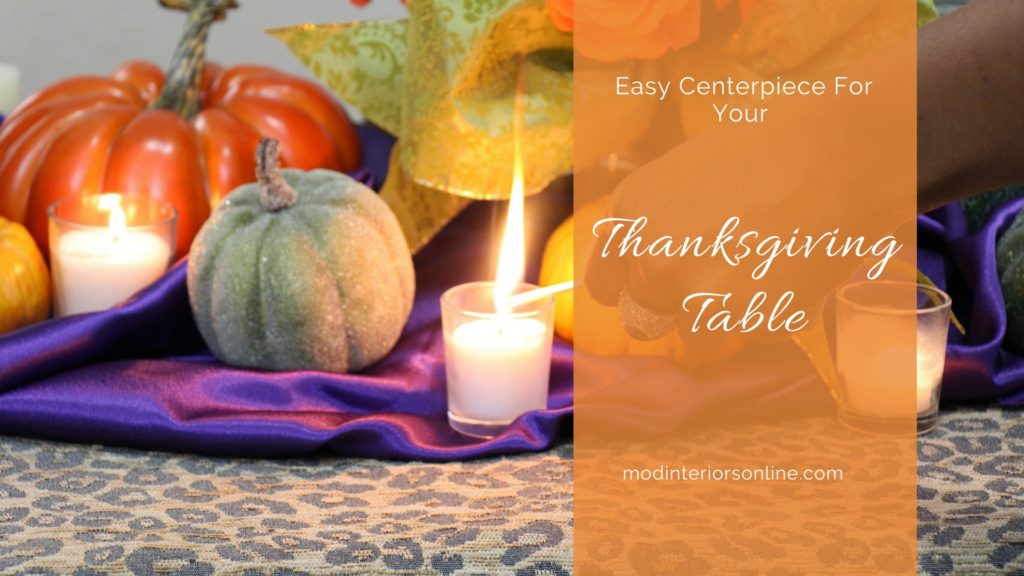
Today we are going to look at creating an easy centerpiece for your Thanksgiving table. This being the season of thanksgiving and decorating your home for the holiday, I thought what better video to do than to show you how to create a beautiful and tress-free centerpiece to WOW your guest.
Watch this video…
We want to start with the most important thing in creating a centerpiece for your Thanksgiving table, deciding on a theme, a color, a feel, that you want to evoke in your room or on your table. This is important because it makes choosing everything for the table a little easier. For us here today, we’re going to do just a traditional, elegant table. I’m going to show you how to do that with just using the things you already have around your home.
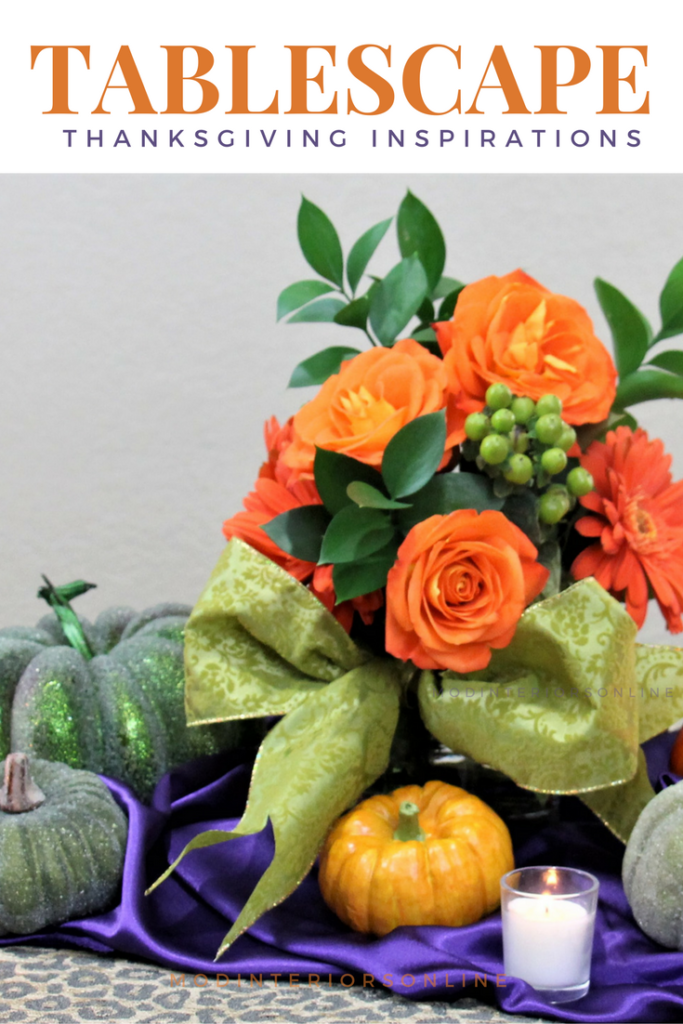
I am going to start by layering a beautiful satin fabric in the center of the table. You really don’t have to do steps, but I like the pop of color and layered look. Next, I center my fresh flower arrangement; I used a simple clear glass container and added a beautiful bow around it to make it special. If you want, you can go to your local Florist and get either a flower basket or fresh flowers and make a flower arrangement similar to mine or one of your own choice. Then you can place it like I have placed them.
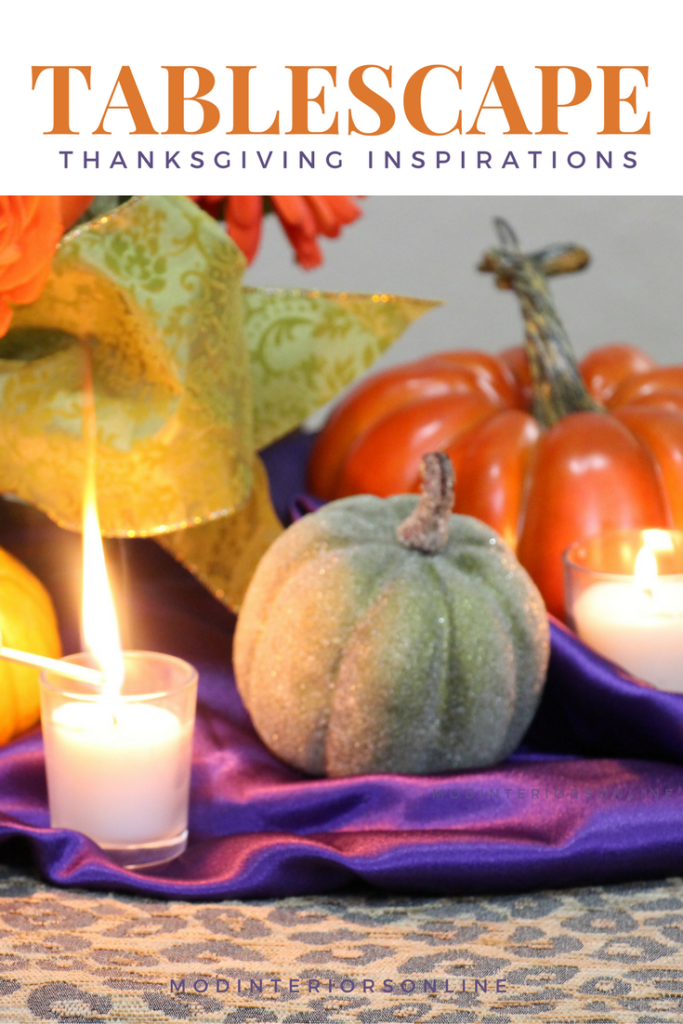
Now that we have our centerpiece where we want it, we’re going to go ahead and start with our pumpkins. I chose to use the decorative pumpkins, because I think they are awesome. We’ll start with a green pumpkin. I like it because it’s kind of bedazzled and fun. Isn’t that so fun? I love it. I’m going to place it next to my arrangement, then I’m going to choose a different color orange one or something like that, and do the same thing on the other side. As you can see, we’re already forming our centerpiece.
Them, I’m going to go ahead some gourds, I love gourds, don’t you? I think they’re fun! I went with the natural colored ones because I think it brings a certain natural elegance to the table. We’re going to use these just to kind of keep the natural colors in. I’m going to just take these. They’re two different sizes as you can see. I’m going to put one just like this. Of course, depending on the size of your table, you can use more or less. You can do this and then go and do another pumpkin. You’ll see what we’ll do here. Then we’ll use this one here. Again, it’s just giving us a little bit of texture, different colors just to keep it fun.
What I did here is I took a wine glass, which we all have in our cabinets, and I added some dried peas from the store, and I put a little votive candle in there. Then I’m going to take this, because this will give us a little bit of height, and I’m going to put it in between our first pumpkin and gourd. Then I’m going to repeat it on the other side. Now, I am going to sprinkle glass votive candles all around to give us soft ambient lighting at dinner.
Remember, you can have this extend as long as you need. You just keep repeating the steps, to fit your table. This is so easy and stress-free, just have fun with it! I hope that this has been helpful to you. Go ahead and check us out on Instagram, Pinterest, and Facebook.
I hope you guys are excited for this holiday season and are ready for your Thanksgiving. I hope that this will help you create a beautiful one-of-a-kind easy centerpiece for your Thanksgiving table. Thank you so much for joining us, and we’ll see you next time.
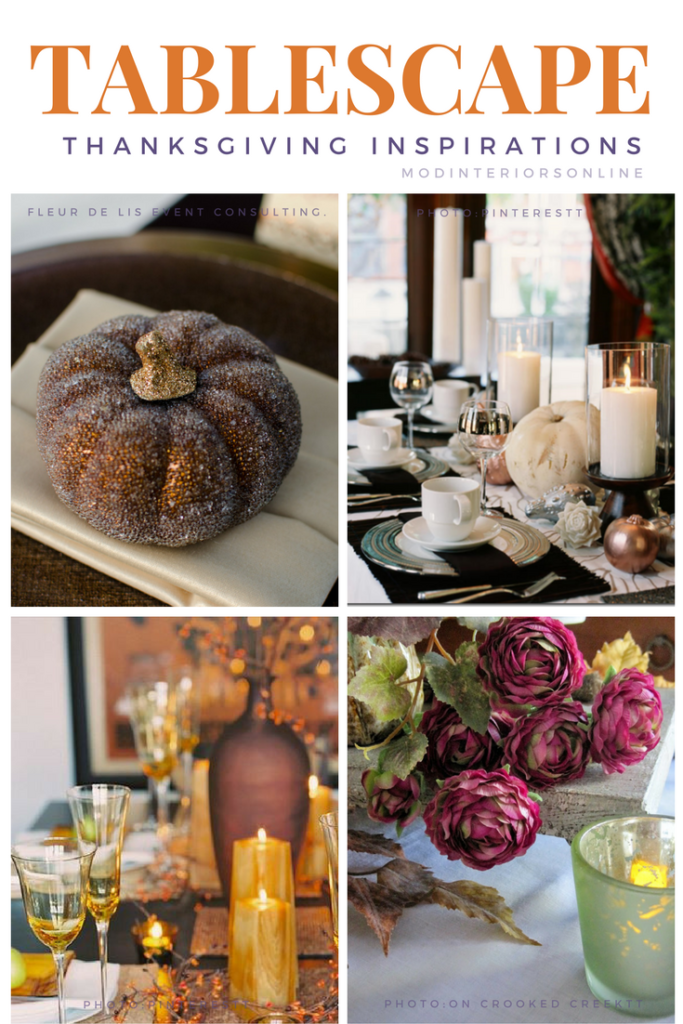
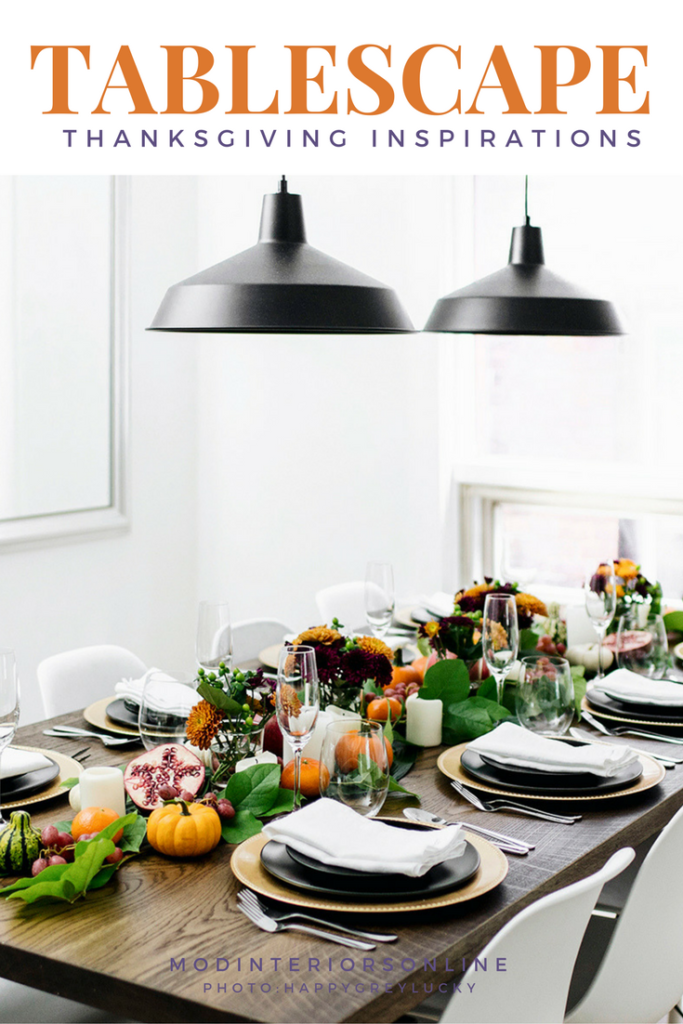
Tablescape Inspiration for you…
Need more inspiration? check out our Pinterest Board
